Water rendering in Guiding Light
Table of Contents
In short
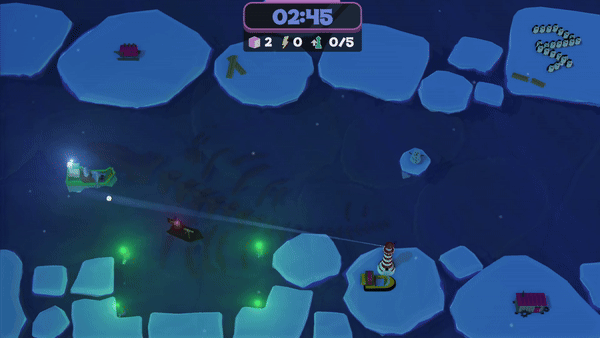
This post will cover my work on water rendering in game Guiding Light developed using DirectX 11 for ZTGK 2024 competition. Our work was awarded the main prize in the Game Development category and received a special award from Activision.
I will try to keep this blog short, as water rendering is probably one of the most documented problems in graphics programming.
What did the shader consist of?
- Gerstner waves to create water geometry
- Normal mapping for adding detail to water
- Screen Space Reflection
- Screen Space Refraction
- Foam effect
Gerstner waves
From what I’ve read, to simulate water waves 3 methods are commonly used:
- Gerstner waves
- Height maps
- Fast Fourier Transform
I chose to go with the first one, mostly because I found it easy to implement as well as easy to tweak, as you could just add more and more gerstner waves on top of each other. According to this paper it is also faster than FFT (although I didn’t research that matter much to be fair). Additionally gerstner waves sounded so badass that my teammates were thinking I was doing some crazy stuff.
But yeah, back to the point.
I won’t go into much detail about this part, there is a great article on GPU Gems that explains everything about it. If you are looking for a shortcut (don’t), here is how I calculated vertex positions and normals of those waves:
PositionAndNormal calc_gerstner_wave_position_and_normal(float x, float y, float3 position_for_normal)
{
    float3 pos = float3(x, 0.0f, y);
    float3 normal = float3(0.0f, 1.0f, 0.0f);

    for (int i = 0; i < no_of_waves; i++)
    {
        float speed = waves[i].speed;

        // Main variables
        float wave_length = waves[i].wave_length;
        float amplitude = waves[i].amplitude;
        float2 direction = waves[i].direction;

        float frequency = sqrt(gravity * 2.0f * PI / wave_length);
        //float frequency =  2.0f / wave_length;
        float steepness = waves[i].steepness / (frequency * amplitude * no_of_waves);
        float phi = speed * 2.0f / wave_length;

        // Position calculation
        pos.x += steepness * amplitude * direction.x * cos(dot((frequency * direction), float2(x, y)) + phi * time);
        pos.z += steepness * amplitude * direction.y * cos(dot((frequency * direction), float2(x, y)) + phi * time);
        pos.y += amplitude * sin(dot((frequency * direction), float2(x, y)) + phi * time);

        // Normal calculation
        // Variable naming from:
        //https://developer.nvidia.com/gpugems/gpugems/part-i-natural-effects/chapter-1-effective-water-simulation-physical-models
        float WA = frequency * amplitude;
        float S_func = sin(frequency * dot(direction, position_for_normal.xz) + phi * time);
        float C_func = cos(frequency * dot(direction, position_for_normal.xz) + phi * time);

        normal.x -= direction.x * WA * C_func;
        normal.z -= direction.y * WA * C_func;
        normal.y -= steepness * WA * S_func;
    }

    PositionAndNormal result;
    result.position = pos;
    result.normal = normalize(normal);
    return result;
}
Of course to even run this shader you need a tesselated plane to have some vertices to offset, you could obviously do it in the tesselation shaders or just create a mesh on the CPU. I decided to do it on CPU, because it was not heavy on performance and from what I’ve heard, tesselation shaders are not commonly used. Here’s some code:
    i32 const num_triangles = 2 << (2 * tesselation_level);
    i32 const num_vertices = (1 << (tesselation_level) + 1) * (1 << (tesselation_level) + 1);

    std::vector<Vertex> vertices = {};
    vertices.resize(num_vertices);

    std::vector<u32> indices = {};
    indices.resize(num_triangles * 3);

    float constexpr size = 50.0f;
    float const step = size / (1 << tesselation_level);
    float const texture_step = 1.0f / (1 << tesselation_level);

    i32 index = 0;
    for (i32 i = 0; i <= (1 << tesselation_level); ++i)
    {
        for (i32 j = 0; j <= (1 << tesselation_level); ++j)
        {
            vertices[index].position = {j * step - size / 2.0f, 0.0f, i * step - size / 2.0f};
            vertices[index].normal = glm::vec3(0.0f, 1.0f, 0.0f);
            vertices[index].texture_coordinates = glm::vec2(j * texture_step - 0.5f, i * texture_step - 0.5f);
            index++;
        }
    }

    i32 triangle_index = 0;
    for (i32 i = 0; i < (1 << tesselation_level); i++)
    {
        for (i32 j = 0; j < (1 << tesselation_level); j++)
        {
            // Indices of the four vertices of the current square
            i32 const top_left = i * ((1 << tesselation_level) + 1) + j;
            i32 const top_right = top_left + 1;
            i32 const bottom_left = (i + 1) * ((1 << tesselation_level) + 1) + j;
            i32 const bottom_right = bottom_left + 1;

            // First triangle
            indices[triangle_index++] = top_left;
            indices[triangle_index++] = bottom_left;
            indices[triangle_index++] = top_right;

            // Second triangle
            indices[triangle_index++] = top_right;
            indices[triangle_index++] = bottom_left;
            indices[triangle_index++] = bottom_right;
        }
    }
Now that we’ve all that behind us, let’s go to the next stage!
Normal mapping
This was surprisingly painful.
I wanted to combine vertex normals with scrolling normal maps to get a more detailed look of water (less blobby). Seems easy? Well, it’s a bit nuanced. First of all, you read normals maps from a file. They are saved as color in a .png file (or other image format). The problem is that a color value can’t be less than zero, so we have to unpack the normal:
n1 = n1 * 2.0f - 1.0f;
Now we get real normals, with negative values.
So yeah, we are ready to blend!
There are multiple ways to do it, many of them shown in this demo. I picked the Unity’s way of doing it.
The results were, well, weird?
 After some research I stumbled upon this article that covered the topic of blending normals.
It seems that most blending methods suffer from different issues. After some thinking I decided to add the normal from the normal map and use weights to counter the artifacts:
After some research I stumbled upon this article that covered the topic of blending normals.
It seems that most blending methods suffer from different issues. After some thinking I decided to add the normal from the normal map and use weights to counter the artifacts:
float3 normal = normalize(vertex_normal + normal_map * float3(0.3f, 0.3f, 0.05f));
This way I kept the details and distortions and eliminated the issue:
I used this method for reflection normals, but kept the Unity one for refraction as it didn’t produce many artifacts.
Screen Space Reflection and Refraction

Once we have the normals sorted out, it’s time to do some reflections!
To get the reflections you need the rendered scene without water. I had deferred rendering setup with an additional forward pass, so that wasn’t much of a problem. Water was rendered in the forward pass, after rendering the whole scene first in the deferred stage. To get reflections I used ray marching, with 3 adjustable parameters: reflection thickness, ray step and max steps. The algorithm looked like that:
// We start in view space
float4 ray_march(float3 direction, float3 view_position)
{
    // hit_coord and dir
    float3 hit_coord = view_position;
    direction *= ray_step;

    float depth;
    float4 projected_coord;
    float delta_depth;

    for (int i = 0; i < max_steps; ++i)
    {
        // We move in the direction of reflection
        hit_coord += direction;

        projected_coord = mul(projection, float4(hit_coord, 1.0f));
        // Perspective divide
        projected_coord.xy /= projected_coord.w;
        // Transform to NDC
        projected_coord.xy = projected_coord.xy * 0.5f + 0.5f;

        // Sample depth at current ray coordinate
        float3 world_pos = position_buffer.Sample(wrap_sampler, projected_coord.xy).xyz;
        float3 view_pos = mul(view, float4(world_pos, 1.0f));
        depth = view_pos.z;

        // How big is the difference between the current ray depth and fetched depth?
        delta_depth = hit_coord.z - depth;

        // We check if the ray is suffciently close to the surface
        if (direction.z - delta_depth < thickness)
        {
            // Make sure the ray isn't behind the surface
            if (delta_depth <= 0.0f)
            {
                float4 result;
                // We use binary search to get a more precise reflection
                result = float4(binary_search(direction, hit_coord, delta_depth), 1.0f);
                return result;
            }
        }
    }

    // If we ever get here, it means we couldn't get anywhere close a surface
    // Return the z as 0.0f and handle it in another function
    return float4(projected_coord.xy, depth, 0.0f);
}

float3 binary_search(float3 direction, float3 hit_coords, float delta_depth)
{
    float depth;
    float4 projected_coord;

    for (int i = 0; i < num_binary_search_steps; ++i)
    {
        projected_coord = mul(projection, float4(hit_coords, 1.0f));
        projected_coord.xy /= projected_coord.w;
        projected_coord.xy = projected_coord.xy * 0.5f + 0.5f;

        float3 world_pos = position_buffer.Sample(wrap_sampler, projected_coord.xy).xyz;
        float3 view_pos = mul(view, float4(world_pos, 1.0f));
        depth = view_pos.z;

        delta_depth = hit_coords.z - depth;
        // Half the step
        direction *= 0.5f;

        if (delta_depth > 0.0f)
        {
            hit_coords += direction;
        }
        else
        {
            hit_coords -= direction;
        }
    }

    projected_coord = mul(projection, float4(hit_coords, 1.0f));
    projected_coord.xy /= projected_coord.w;
    projected_coord.xy = projected_coord.xy * 0.5f + 0.5f;

    return float3(projected_coord.xy, depth);
}
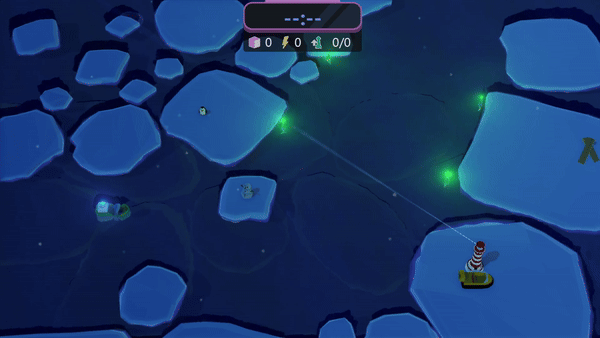
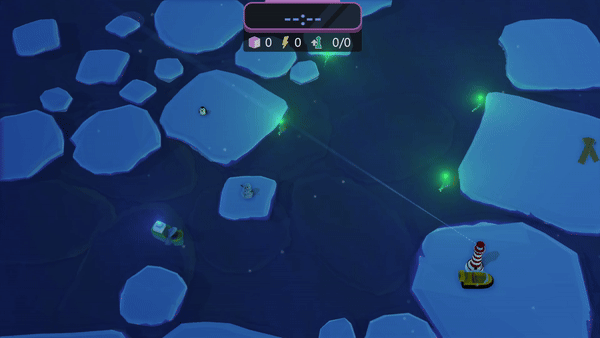
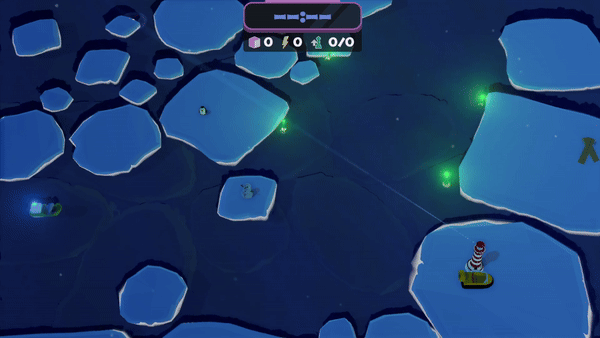
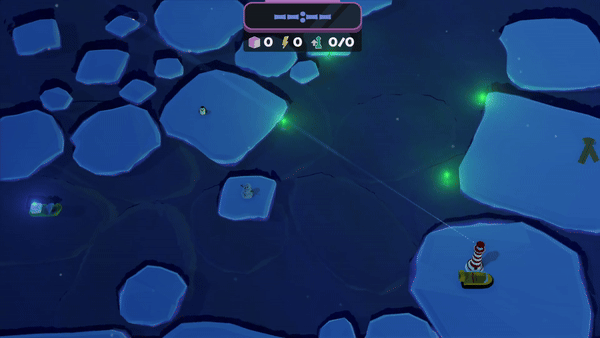
And this was the result:

The reflection looks a bit unnatural, what’s missing here is accounting for the Fresnel effect, which is definitely someting I would do if we decided to continue working on the game.
Screen Space Refraction
It’s basically the same as reflection, I used the same function. All you have to do is adjust the 3 parameters and change the direction vector:
float3 reflected_vector = normalize(reflect(normalize(view_pos), view_reflection_normal));
float3 refracted_vector = normalize(refract(normalize(view_pos), view_normal, 1.0f/1.52f));
Notice I’m using view-space position as the incident ray, as it can be interpreted as a vector from camera to pixel’s position.
As you can see, I got some artifacts (mostly because of the normal blending) but hiding them was quite simple. If there was no refraction found, I would simply perform no refraction, just pretend the refraction is the previously rendered pixel at current UV’s.
This solved the issue for me, but next time I would consider blending the normals differently to further minimize the artifacts.
Foam edge effect
It’s widely used because of it’s simplicity. You just calculate the distance between current pixel’s position and the one rendered in the deffered pass:
float edge_foam(float3 current_world_position, float3 other_world_position, float threshold = 0.1f, float power = 10.0f)
{
    float distance = length(other_world_position - current_world_position);
    if (abs(distance) < threshold)
    {
        return 1.0f - distance * power;
    }

    return 0.0f;
}
When I applied it to the water’s color directly:
color = falloff_value * float3(1.0f, 1.0f, 1.0f) + (1.0f - falloff_value) * color;
I got this result:
It felt a bit too strong in my opinion so I decided to combine it with water’s calculated color:
final.xyz = falloff_value * float3(0.1f, 0.1f, 0.6f) + (1.0f - falloff_value) * result;
It gave me a subtle foam, that was all I needed! Here is the water without it:
Other tricks
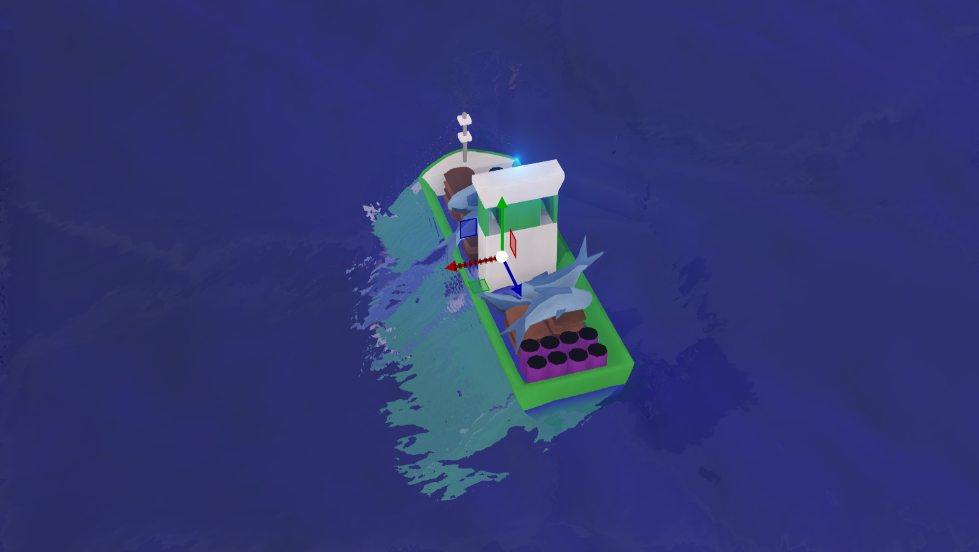
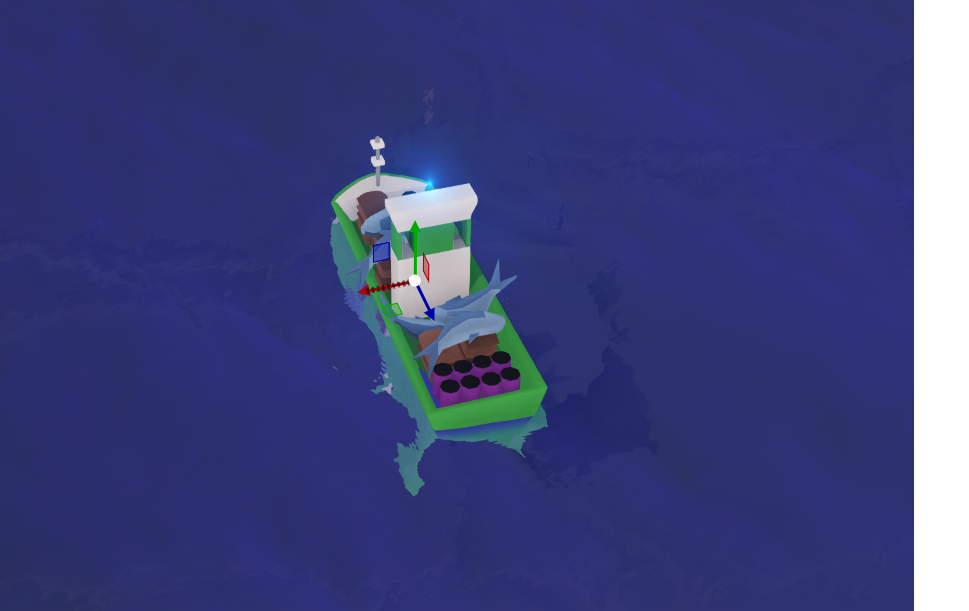
The water also was lit like a normal object would in our game, with Phong shading. We used normal mapping here too. Water’s color was also based on it’s height relative to the maximum wave height, we had two colors between which we interpolated.
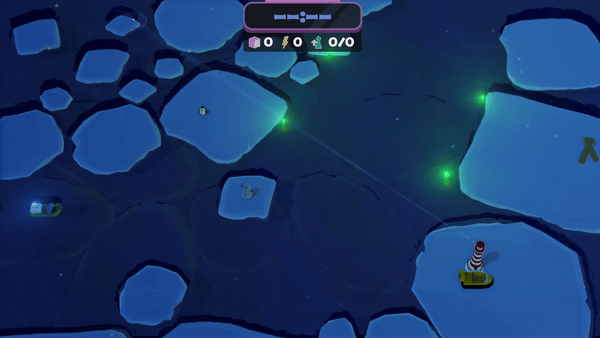
Final effect
Summary
I hope I made everything clear here, if you have any question, remember, don’t hesitate to ask @umbc1ok.
Further reading
I found these resources helpful when making this shader:
OpenGL Tutorial - Screen Space Reflections
3D Game Shaders for Beginners - Screen Space Reflection
comments powered by Disqus